
Practice Defensive Strikes Safely at Home: A Progression-First Guide

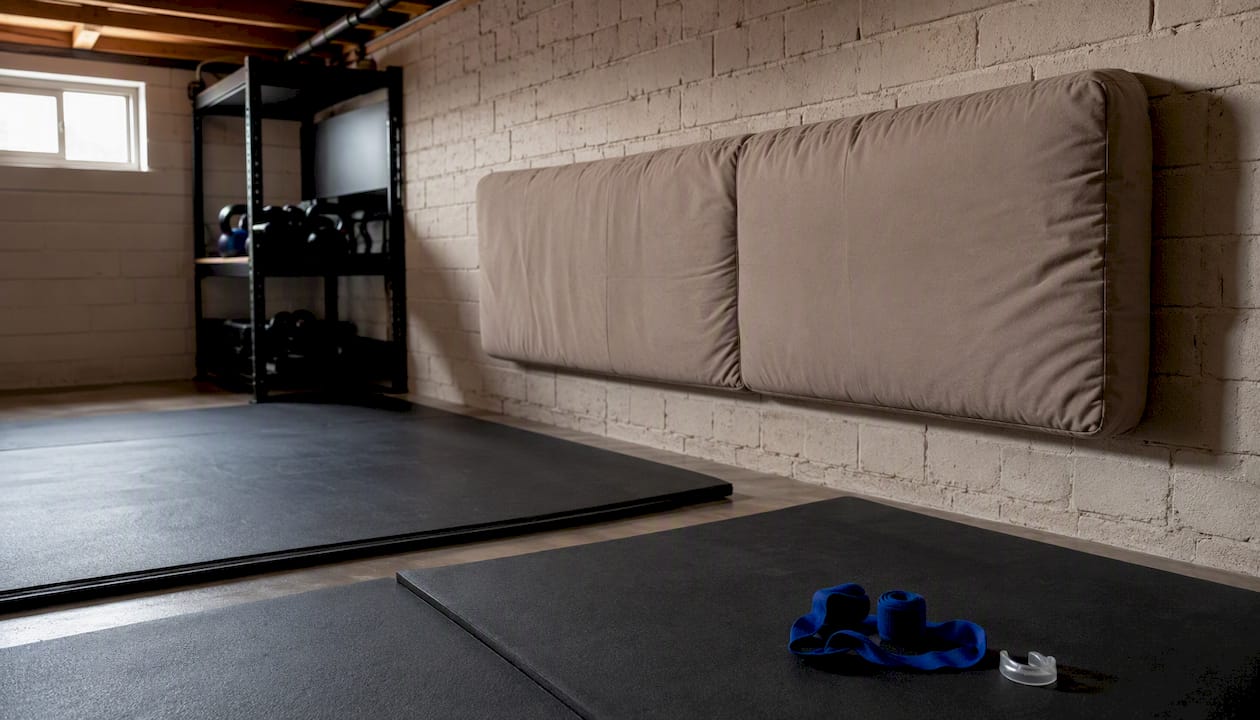
You can practice defensive strikes safely at home. The condition is a progression-first system: start with stance and footwork, add solo drills, then introduce padded impact only after your form is consistent. Skip that order and you risk joint injuries, bad habits, and techniques that fail under real stress.
Before your first session, confirm these four things:
A clear, non-slip floor space sufficient for safe movement
A 5–10 minute warm-up before any striking movement
Protective gear in place before any contact with a surface
A written emergency plan with a phone within reach and a designated person to call 911
CVPSD, a 501©(3) nonprofit specializing in evidence-based self-defense education, consistently emphasizes that most training injuries are preventable when practitioners respect warm-up protocols and resist rushing to contact work. That principle runs through every section below.
Table of Contents
How do you set up a safe home practice area?
The physical space matters as much as the technique. A hard tile floor with furniture nearby is a hazard; a cleared, padded area with good lighting is a training environment.
Space and surface:
Clear floor space ample enough for footwork drills
Non-slip surface: interlocking foam mats (3/4-inch or thicker) reduce impact noise and protect joints
Good overhead lighting so you can see your guard and foot position clearly
Ventilation to prevent overheating during sustained rounds
Non-negotiable safety rules:
Never strike a hard surface without a padded target
No practice while impaired or fatigued beyond normal training fatigue
Write down your emergency plan with designated responsibilities in case of injury
A written, rehearsed home defense plan that assigns responsibilities reduces confusion under stress. Apply that same logic to your training space.
Pro Tip: Tape a couch cushion firmly to a wall at shoulder height. It gives you a safe impact surface for $0 and conditions your alignment before you invest in a heavy bag.
For apartment practitioners, foam mats also reduce impact noise transmitted to neighbors. Schedule sessions during daytime hours when possible, and let neighbors know you train.
Why does stance come before everything else?
Stance is non-negotiable. A live stance lets you move, generate power, and defend against takedowns. Without it, your strikes are arm-only movements with no real force and no recovery position.
The “train tracks” setup:
Feet shoulder-width apart, lead foot forward, rear foot back on parallel rails
Never cross your feet when moving; shuffle-step to maintain the base
Slight weight bias toward the rear foot for quick level changes and exits
Hands up, chin tucked, elbows protecting the ribs
Stance and the floor-up power chain are core mechanics in striking systems: back foot drives into the ground, rear knee rotates, hip follows, shoulder follows, arm delivers. Shortening that extension for defensive use keeps you protected after the strike lands.
Basic footwork drills (3×3-minute rounds):
Forward/back shuffle: 10 steps each direction, maintaining guard
Lateral shuffle: 10 steps left, 10 right, no crossing
Pivot drill: step forward with lead foot, pivot 45 degrees on the ball of that foot, reset
Step-slip-step: step in, slip head offline, step out
Pro Tip: After every combination, practice an immediate exit step. Many counters land during disengagement, so keeping your hands up and angling off after a strike is a trained habit, not an afterthought.
Solo training that prioritizes stance and form over power builds more usable skill than rushing to hard contact. Spend at least two full sessions on footwork alone before adding strikes.
How do you throw safe, effective defensive strikes?
Power comes from the floor up. The sequence is: back foot presses into the ground → rear knee rotates → hip drives → shoulder follows → arm extends. Arm-only punches skip that chain entirely and produce weak, injury-prone strikes.
Strike mechanics by type:
Jab: Lead hand extends straight from the guard, shoulder rotates slightly, returns immediately. Keep the rear hand at your chin.
Cross: Rear foot drives, hip rotates fully, rear hand travels straight, lead hand stays up. Retract before the next move.
Hook: Elbow rises to shoulder height, pivot on the lead foot, fist travels in a horizontal arc. Do not overextend past your centerline.
Uppercut: Drop the rear hand slightly, drive upward with hip rotation, knuckles face the ceiling at contact. Short extension only.
Body shot: Bend the knees to level-change, drive the cross or hook to the midsection, return to guard immediately.
Common mistakes to correct early:
Dropping the non-striking hand below chin level
Overextending the jab so the elbow locks out
Telegraphing by pulling back before the strike
Improper wrist alignment: knuckles of the index and middle fingers should contact first
Boxing defensive techniques like slips, rolls, and parries pair with these strikes to create counter windows. Practice a slip-and-cross or parry-and-jab combination once your basic mechanics are stable.
Pro Tip: Train for acceleration, not power, in early sessions. Short “pepper drills” — 10 rapid jabs at 50% extension with full speed — build hand speed and reinforce the return-to-guard habit faster than slow, powerful swings.
What does a safe solo drill progression look like?
Self-defense practice that combines economy of motion, distance control, and progressive conditioning builds skill that holds under stress. Structure your sessions in stages.
Sample 20-minute home session:
Warm-up: 5 minutes of joint mobility (wrists, shoulders, hips, knees) and light cardio (jumping jacks or skipping in place)
Stance and footwork shadowboxing: 3×3-minute rounds, form only, no speed target
Hand-speed pepper drills: 2×2-minute rounds, jab and cross at 50–60% extension
Padded impact (cushion or bag): 2×2-minute rounds, single strikes with full alignment check after each
Combination flow: 1×2-minute round, jab-cross-hook with exit step after each combo
Cool-down: 2 minutes of light stretching
Progression checklist before increasing intensity:
Form stays consistent for three consecutive sessions
No joint pain during or after practice
Guard returns automatically after every strike
Exit step is habitual, not an afterthought
For conditioning and warm-up routines tailored to self-defense training, CVPSD publishes beginner-friendly guidance that complements this solo framework.
How do you train safely with a partner at home?
Partner drills introduce timing and reaction that solo work cannot replicate. They also introduce risk. Protocols matter more here than anywhere else.
Before every partner session:
Verbal agreement on contact level (touch-only, light, or moderate)
Agreed stop signal or safe word, respected immediately without question
Both partners warmed up and free of injury or illness
Emergency plan reviewed and phone accessible
Gear for partner work:
Boxing gloves (12–16 oz for pad work and light sparring)
Hand wraps under gloves, always
Mouthguard for any contact above touch-level
Headgear if contact increases beyond light
Controlled-contact drills:
Touch-and-back: one partner throws a slow jab, the other slips and resets; no power
Slow catch-and-counter: one partner feeds a slow cross, the other parries and returns a jab at 30% speed
Focus-mitt progression: start at 40% speed, increase only when both partners are comfortable and technique is clean
A written home defense plan applies here too: never practice scenario-clearing drills alone, and avoid any drill that simulates a live threat without professional supervision.
Pro Tip: Agree on a “freeze” signal before you start. Either partner can call it at any moment, no explanation needed. That single rule prevents most partner-training injuries.
What equipment do you actually need, and what does it cost?
Gear protects you and your training partner. Buy for fit and safety first; brand names are secondary.
Must-have items:
Boxing gloves (12–16 oz)
Hand wraps (180-inch cotton or elastic)
Mouthguard (boil-and-bite minimum)
Gym mats (interlocking foam, 3/4-inch or thicker)
Padded target (cushion taped to wall, or freestanding heavy bag)
Basic first-aid kit; a trauma-capable medical kit including a CAT tourniquet and pressure bandage is a practical addition
Tier | Budget | What you get |
Starter | $50–$150 | Hand wraps, boil-and-bite mouthguard, foam mat tiles, wall-cushion target |
Mid-range | $150–$350 | Quality boxing gloves, cotton wraps, freestanding bag or wall-mount bag, full mat set |
Upgrade | $350+ | Heavy bag with ceiling mount, focus mitts, headgear, full trauma kit |
The starter tier is sufficient for solo shadowboxing and padded-impact drills. Move to mid-range when you add partner work. CVPSD’s equipment donation program accepts used gear, which can help community members access equipment at low or no cost.
How do you prevent injuries and recover well?
Most home-practice injuries come from skipping warm-up, poor wrist alignment, or overtraining. All three are controllable.
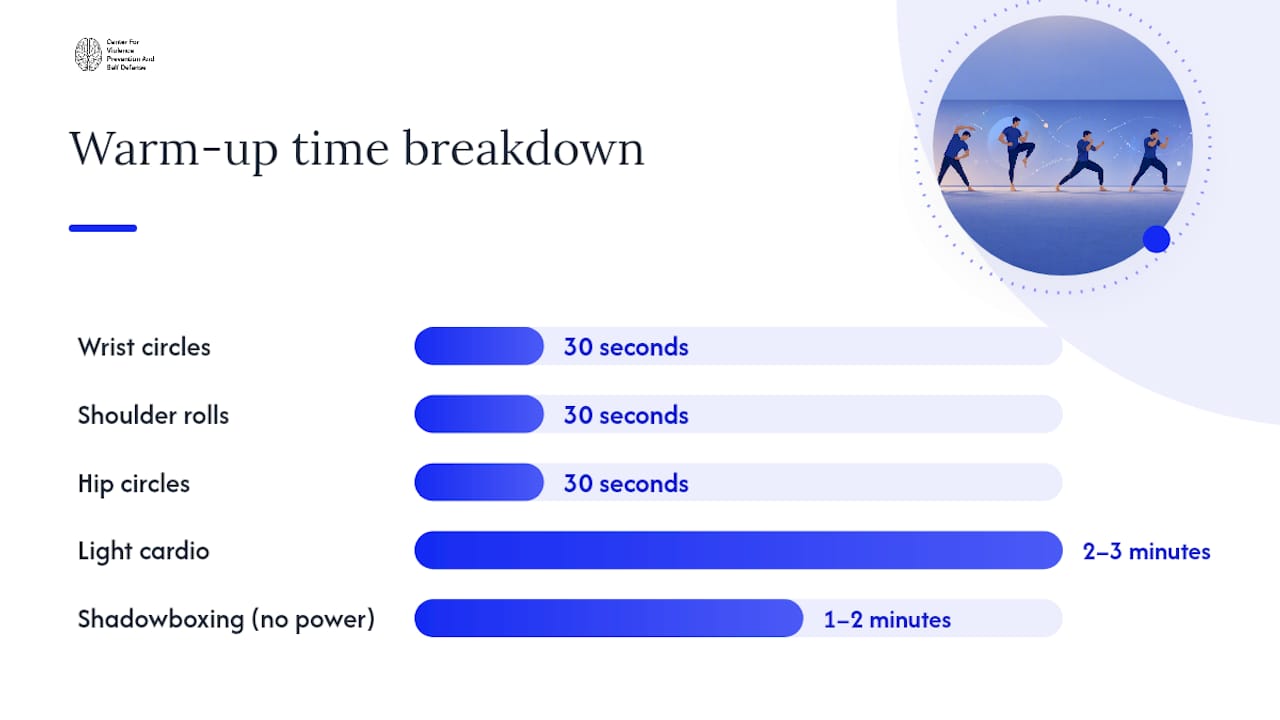
Warm-up checklist (5–10 minutes):
Wrist circles, shoulder rolls, hip circles: 30 seconds each
Neck mobility: slow side-to-side, no aggressive rotation
Light cardio: 2–3 minutes to raise heart rate
Sport-specific activation: slow shadowboxing with no power for 1–2 minutes
Common injuries and early signs:
Wrist sprains: pain on impact or rotation — stop immediately, check wrap technique
Thumb injuries: often from improper fist formation — thumb must be outside the fingers, never tucked inside
Knee strain: usually from pivoting on a flat foot — always pivot on the ball of the foot
Rotator cuff irritation: from overextension or arm-only punches — shorten extension and reinforce the power chain
Red-flag symptoms — stop the session and seek medical attention:
Sharp joint pain during a strike
Persistent swelling after a session
Numbness or tingling in the hand or arm
Any loss of grip strength or range of motion
Recovery is simple: rest the affected area, apply ice for 15–20 minutes, compress if swollen, and elevate. Do not return to striking until the symptom resolves. Chronic overuse injuries develop when practitioners push through early warning signs.
What are the legal and ethical limits of defensive striking in the U.S.?
Training builds capability. It does not grant permission to use force. U.S. use-of-force law varies by state, and the legal standard for justified self-defense turns on factors including imminence, proportionality, and in some jurisdictions, a duty to retreat.
Key principles:
De-escalation is always the first option; physical force is a last resort
Proportional response: the force used must match the threat level
Some states impose a duty to retreat before using force; others recognize stand-your-ground provisions
Applying a trained strike to someone who posed no imminent threat is assault, regardless of your training background
For context on how a five-layer residence security approach frames physical response as the last layer after hardening, lighting, and communication, that framing aligns with CVPSD’s de-escalation-first curriculum. CVPSD’s programs meet state and local laws; consult CVPSD or local law enforcement for jurisdiction-specific guidance.
When is self-teaching no longer enough?
Solo practice has a ceiling. These signs indicate it is time to seek qualified instruction:
Technique errors persist after multiple sessions of self-correction
Pain appears under load or during combinations
You want to practice realistic scenarios, higher-contact drills, or defensive tactics
Your role (professional, caregiver, educator) creates a responsibility to demonstrate competency
CVPSD delivers evidence-based live and online seminars, community workshops, and train-the-trainer programs. As a 501©(3), CVPSD partners with schools, healthcare providers, government agencies, and community organizations. Quarterly in-person refreshers are a practical complement to regular home practice.
Pro Tip: Even one supervised session every three months corrects errors that are invisible in solo practice. A qualified instructor sees what a mirror cannot.
Key Takeaways
Safe, effective home practice follows a strict progression: stance first, solo drills second, padded contact third, and supervised partner work only after fundamentals are solid.
Point | Details |
Clear your space first | A minimum non-slip area with foam mats spacious enough for practice is the baseline before any striking drill. |
Stance before strikes | Master the live stance and train-tracks footwork before adding any punch mechanics. |
Gear protects both partners | Boxing gloves, hand wraps, and a mouthguard are required before any contact-level partner work. |
Progression prevents injury | Moving from shadowboxing to padded impact to partner drills in sequence prevents most common training injuries. |
CVPSD for live instruction | When solo practice reaches its limit, CVPSD’s evidence-based seminars and community programs provide supervised progression. |
Measured habits build real capability
The most common mistake in home self-defense training is not a technical one. It is impatience. Practitioners who skip stance work to get to sparring, or who add power before their form is consistent, develop habits that fail precisely when they matter most — under stress, with no warm-up, against an unpredictable opponent.
What the evidence consistently shows is that careful, progressive practice builds more usable skill than intense, unstructured sessions. A practitioner who has done 30 sessions of clean shadowboxing and padded-impact work is better prepared than one who has done 10 sessions of hard sparring with no foundation.
CVPSD’s evidence-based approach reflects that principle. As a 501©(3) with partnerships across community, government, and healthcare organizations, CVPSD designs programs around the same progression-first logic this article describes. The problem with traditional self-defense education is often that it skips the foundation entirely. Careful habits, built consistently, are what create genuine capability.
CVPSD training: structured progression with expert guidance
Solo home practice is a strong starting point. Supervised instruction is where real competency develops. CVPSD offers beginner-friendly fundamentals seminars, community workshops, and organizational training programs built on evidence-based curriculum that meets state and local legal standards.
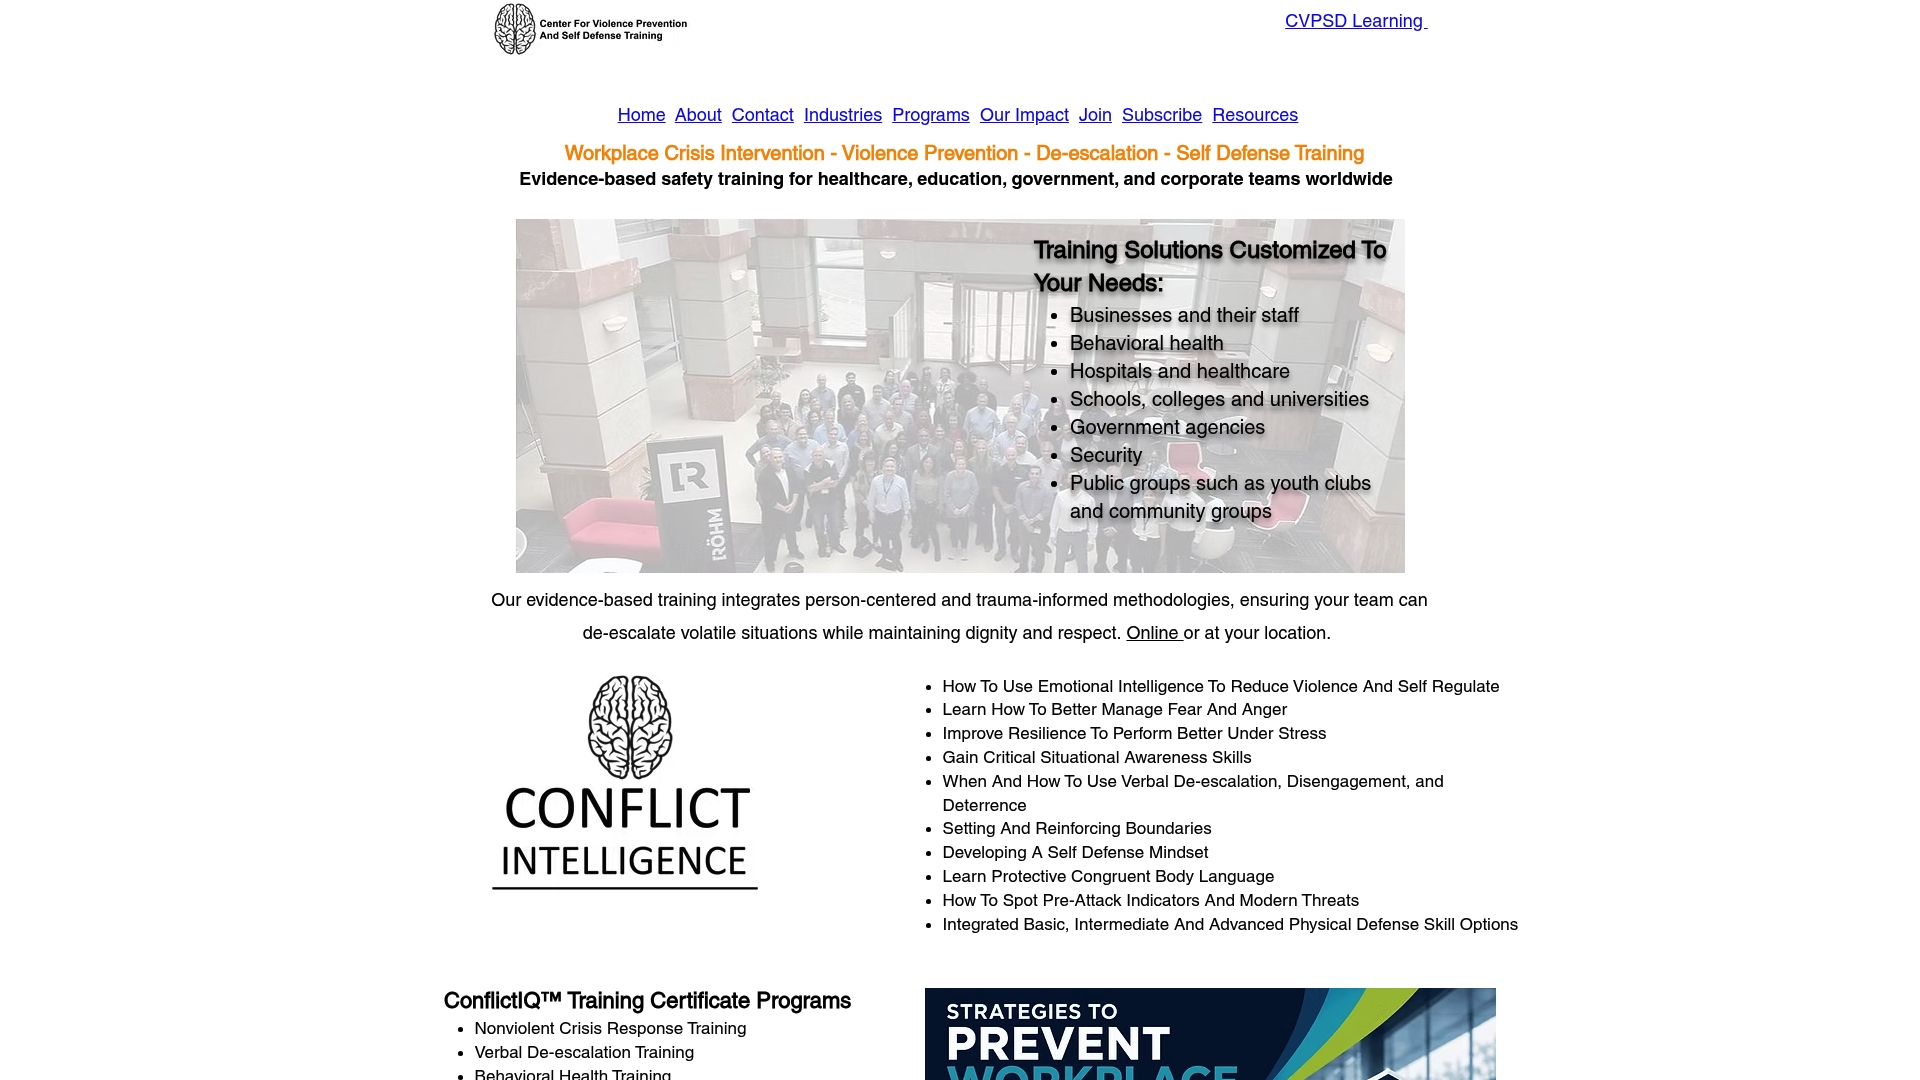
CVPSD’s programs are designed for practitioners at every level, from individuals building confidence at home to organizations training staff in crisis response. The 501©(3) structure means programs are accessible to community groups, schools, and nonprofits, not just corporate clients.
To register for a fundamentals seminar, request a community workshop, or learn about organizational partnerships, visit CVPSD’s training programs and connect with the team directly. Supervised instruction, even quarterly, makes the difference between technique that holds under pressure and technique that only works in a quiet room.
Useful sources and further reading
The resources below support deeper study across technique, home security planning, and legal context. This list is for educational reference only and does not constitute legal advice. Always consult your state’s statutes and a licensed attorney for use-of-force questions specific to your situation.
For supervised training, visit CVPSD’s nationwide programs to find instruction near you.
FAQ
Can you really practice defensive strikes safely at home?
Yes, with a cleared space, proper warm-up, protective gear for any contact work, and a written emergency plan. Progression from stance to solo drills to padded impact reduces injury risk significantly.
What is the minimum equipment needed to start home practice?
Hand wraps, a boil-and-bite mouthguard, foam mat tiles, and a cushion taped to the wall cover the starter tier for roughly $50–$150 before you need boxing gloves or a heavy bag.
How long should a beginner home session last?
A 20-minute session, including a 5-minute warm-up, is sufficient for beginners. Three sessions per week with rest days between them allows technique to consolidate without overuse injury.
When should you stop practicing at home and seek professional instruction?
Seek instruction when technique errors persist despite self-correction, when pain appears under load, or when you want to practice realistic scenarios or higher-contact drills. CVPSD offers evidence-based seminars for exactly this transition.
Is practicing defensive strikes at home legal?
Practicing striking techniques on a padded target in your own home is legal. Applying those techniques to another person is governed by your state’s use-of-force statutes. Consult your state’s criminal code or a licensed attorney for jurisdiction-specific guidance.
Recommended


